This article was co-authored by Pippa Elliott, MRCVS. Dr. Elliott, BVMS, MRCVS is a veterinarian with over 30 years of experience in veterinary surgery and companion animal practice. She graduated from the University of Glasgow in 1987 with a degree in veterinary medicine and surgery. She has worked at the same animal clinic in her hometown for over 20 years.
wikiHow marks an article as reader-approved once it receives enough positive feedback. In this case, 91% of readers who voted found the article helpful, earning it our reader-approved status.
This article has been viewed 106,818 times.
Feeder roaches are a cheaper and easier alternative to crickets for feeding your insect-eating pets. Although roaches are generally hearty and can survive in many environments, to establish a breeding colony you’ll need to house your roaches in a dark environment that is warm and humid, and feed your roaches a good diet.
Steps
Choosing Your Roaches
-
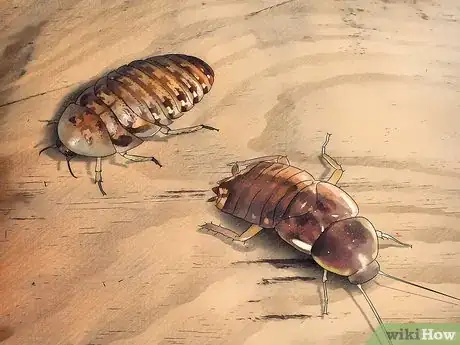
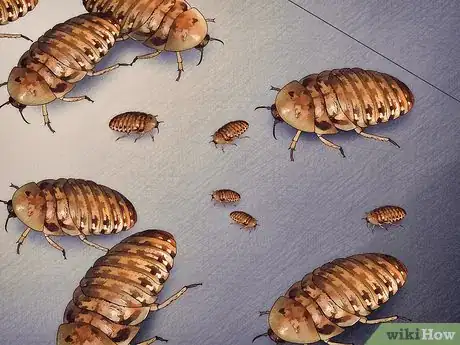
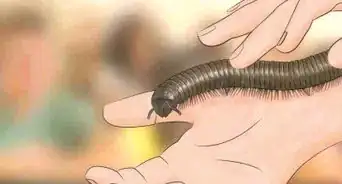
1Choose a roach species. Dubia roaches, also called Guyana Orange-Spotted Roaches, are the easiest feeder roaches to breed. They are hearty, fast-growing, and unable to climb up smooth surfaces. They are medium sized, so they can be fed to most animals.[1]
- Other roach species, such as Blatta lateralis and Blaberus, are also good breeder roaches, but dubia roaches are easier to breed.
- Dubia roaches (and other kinds of roaches) can be purchased at most stores that sell reptiles. If you don’t have a local place to buy roaches, they can be purchased online and shipped to you. 100 roaches will run you ~$20-$30.[2]
-
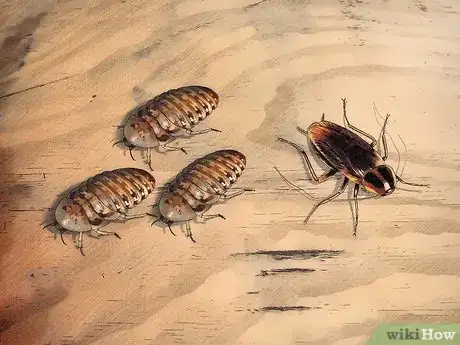
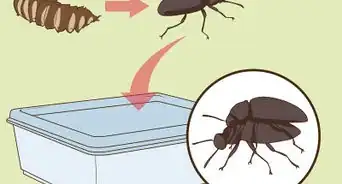
2Purchase more female than male roaches. The female-to-male ratio should be between 3:1 and 7:1 for ideal breeding conditions. You can tell female from male dubia roaches by their wings. Females have short, stubby wings, while males have long wings that cover their entire bodies.[3]Advertisement
-
3Purchase at least 100 roaches. 100 roaches will provide a good base to get started with a sustainable colony. Less than 100 roaches will take longer to start producing a colony of feeder roaches.
- If you’re planning to start a very large colony, you can start with more than 100 roaches.
- How large you want your colony to be will depend on what kind and how many animals you plan to feed.
Housing Your Roaches
-
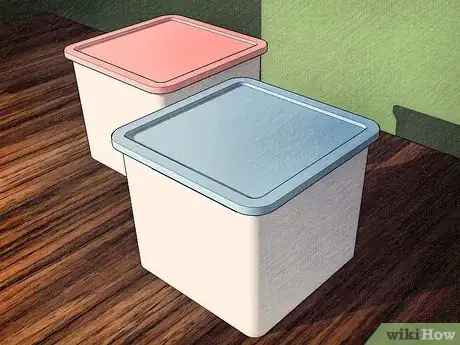
1Obtain two plastic bins with lids. Choose bins that are at least 18” x 18” x 18” in size. Large plastic storage tubs are ideal containers since they provide darkness for the roaches and have smooth sides that the roaches cannot climb.[4]
- The second bin is for storing your roaches when you clean the first bin.
- Avoid using aquariums since they are harder to heat and don’t provide a dark environment.
-
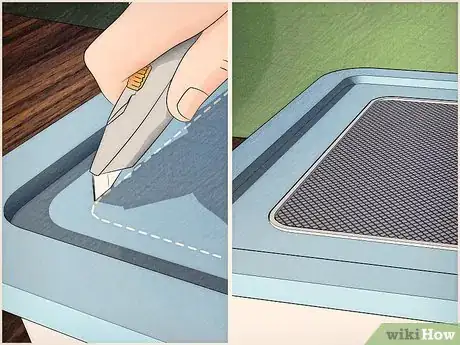
2Make a hole in the top of the bins and cover it with a metal screen. You can cut one large hole or several smaller holes. This will provide ventilation for your roach colony. Cover the holes with metal screen. Attach the screen with hot glue or duct tape.
- Dubia roaches can chew through fiberglass screens, so metal is imperative. The screens will prevent your roaches from escaping through the ventilation holes.[5]
-
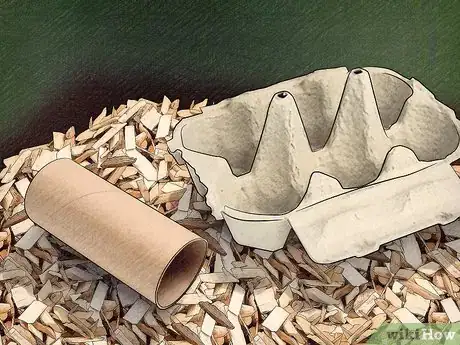
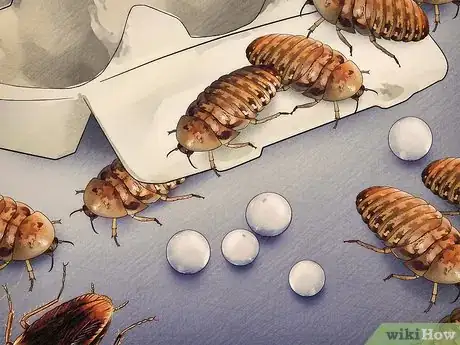
3Add harborage to the bins. Harborage is a place for your roaches to hide and breed. Egg crates make the ideal harborage as they contain many ridges and degrade very slowly. You can also use toilet paper rolls, newspaper, or other cardboard or paper products. Place the harborage into the plastic bins.[6]
- Avoid using glossy magazine paper for harborage. This type of paper contains chemicals that can harm your roaches.
-
4Heat the bins. Dubia roaches—and most other breeds of roach—require temperatures around 90 degrees Fahrenheit for ideal breeding conditions. There are several ways to heat the bins. The easiest is to purchase a reptile heating pad and place it underneath the bin. If there is a spot in your house that stays consistently around 90 degrees Fahrenheit, you can leave the bins in this area.
- Space heaters can also be used to provide heat, but they are less precise than reptile heating pads and will require you to keep a thermostat in the bins to monitor the temperature.
- Don’t place the heating element directly into the bin. Instead, keep it either underneath the bin or outside the bin on the side.
-
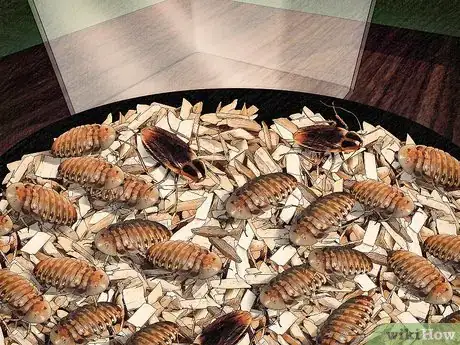
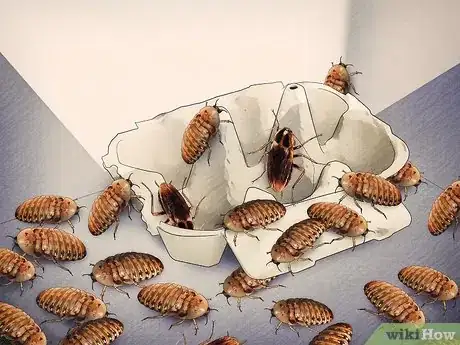
5Introduce your roaches. Release your roaches into their new environment and seal the bin. They will quickly find spaces to hide and they will begin the breeding process immediately.[7]
Feeding Your Roaches
-
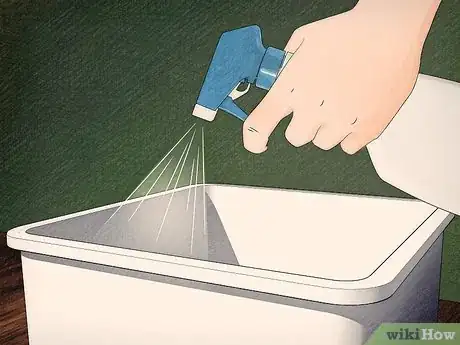
1Mist the bin with water. Dubia roaches need humidity to survive. As long as the humidity stays above 40%, your roaches will do well. You can achieve this by misting the inside of the bin with water once a week.[8]
- In very dry environments you may need to mist more often.
- If the humidity in your climate routinely drops below 40%, place a hygrometer in the bin to monitor the humidity levels.[9]
- Remove any food from the bin before misting. This will avoid getting the food wet and potentially leading to mold.
-
2Place a water crystal dish in the bin. Water crystal dishes use a synthetic material that absorbs water. They have the consistency of Jell-O and will allow your roaches to drink water without drowning.[10]
- Water crystal dishes can be purchased at reptile stores or online.
- Your roaches will be able to get most of their water from the water you use to humidify the bins, but a water crystal dish ensures they will not get dehydrated if you miss a misting.
-
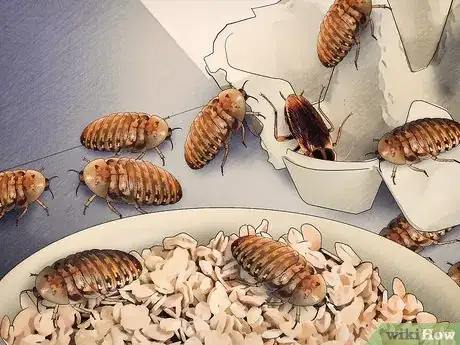
3Add dry food. Roaches aren’t picky about what they’ll eat. Dry food is ideal for their main nutritional source since it will not rot or grow mold that can smell and harm your roaches. Dry cat food, cereal, and bird food pellets are good options for dry roach food. Place the dry food in a dish and put it in the bin.[11]
- Add more dry food when you notice the supply getting low. A cup of dry food should last your roaches several weeks to several months.
-
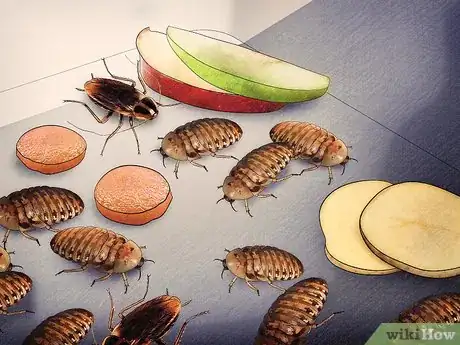
4Add fresh fruits and vegetables. These will provide additional vital nutrition for your roaches. You can use lettuce, carrots, bananas, and apples. Place the fruits and vegetables on a small dish and place them in the bin. Leave the dish in the bin for two days and then remove it. This will prevent the food from rotting or developing mold.[12]
- Never leave fresh food in the bin for too long as mold can develop and kill your colony.
Cleaning Your Roach Environment
-
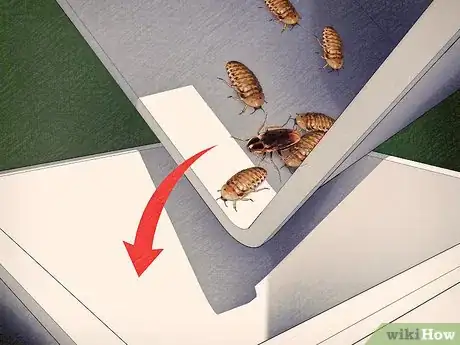
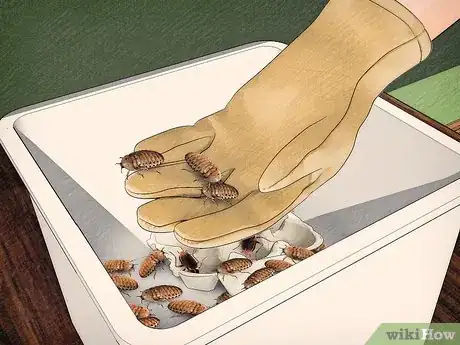
1Transfer your roaches to the second bin. Using gloves, remove the lid from the first bin and lift the harborage. Tap the harborage into the second bin, removing any roaches. Remove the food and water dishes from the first bin and hold the first bin over the second bin to transfer the roaches.
- If roaches remain in the first bin, lift them by hand using your gloves.
-
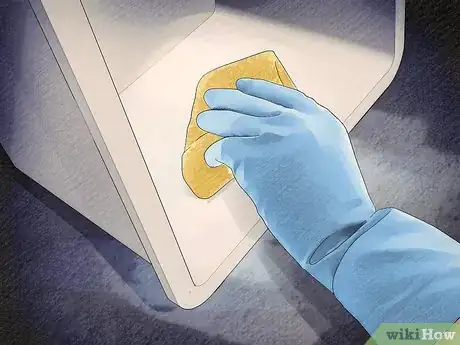
2Wash the first bin with soap and water. Remove any solid roach feces (“frass”) and clean out the bin. It doesn’t have to be spotless. The goal is to remove excess frass and any dead roaches that have fallen to the bottom of the bin.
- Dry the bin thoroughly when you’re done.
-
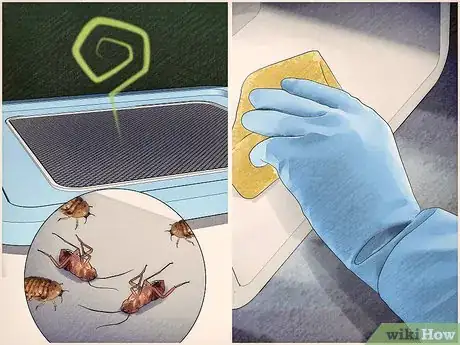
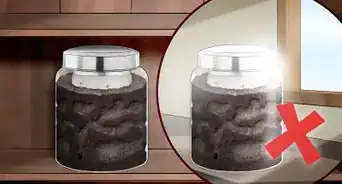
3Don’t clean the bin too often. Baby roaches feed off of frass, so it’s important to let small amounts of frass accumulate in the bin. Only clean the bin when dead roaches have begun to accumulate or if the bin is producing a bad smell.
- Roaches ordinarily don’t smell, so if you notice a smell from the bin it’s time for a cleaning.
Maintaining Your Colony
-
1Let your roaches breed. Healthy female roaches will produce between twenty-five and thirty nymphs (baby roaches) every six-to-eight weeks. Any new females that are born will mate and begin to bear their own nymphs within seventy days.[13]
- After two reproductive cycles (six-to-eight weeks for the roaches you purchase and seventy more days for the first offspring to bear young), your colony will be well-established.
-
2Feed your pets. After your colony is established, you can begin to use the roaches as food for your pets. As long as you don’t deplete the colony below 100 roaches, it should be able to replenish itself with every seventy-day breeding cycle.[14]
- If you do reduce the colony below 100 individuals and you notice a drop-off in numbers, simply purchase more roaches to fill in the gaps. For example, if you delete the colony to 75 individuals, purchase 25 new roaches.
-
3Share or sell excess roaches. If your colony begins to develop beyond your needs—or your space—give excess roaches to other pet-owners, or sell them. You can sell your roaches in online marketplaces like eBay if you are unable to find local buyers.[15]
References
- ↑ https://dubiaroachdepot.com/guidance/breeding-dubia-roaches#cleaning
- ↑ http://www.backwaterreptiles.com/feeders/dubia-roaches-for-sale.html
- ↑ https://dubiaroachdepot.com/guidance/breeding-dubia-roaches#cleaning
- ↑ https://dubiaroachdepot.com/guidance/breeding-dubia-roaches#cleaning
- ↑ https://dubiaroachdepot.com/guidance/breeding-dubia-roaches#cleaning
- ↑ https://dubiaroachdepot.com/guidance/breeding-dubia-roaches#cleaning
- ↑ https://dubiaroachdepot.com/guidance/breeding-dubia-roaches#cleaning
- ↑ http://www.geckosunlimited.com/community/feeders-food-and-nutrition/53949-feeder-roaches-care-breeding.html
- ↑ https://dubiaroachdepot.com/guidance/breeding-dubia-roaches#cleaning
- ↑ http://www.geckosunlimited.com/community/feeders-food-and-nutrition/53949-feeder-roaches-care-breeding.html
- ↑ https://dubiaroachdepot.com/guidance/breeding-dubia-roaches#cleaning
- ↑ https://dubiaroachdepot.com/guidance/breeding-dubia-roaches#cleaning
- ↑ https://dubiaroachdepot.com/guidance/breeding-dubia-roaches#cleaning
- ↑ https://dubiaroachdepot.com/guidance/breeding-dubia-roaches#cleaning
- ↑ https://dubiaroachdepot.com/guidance/breeding-dubia-roaches#cleaning
About This Article
If you want to breed feeder roaches, start by placing them inside a plastic bin with holes for ventilation, and egg crates for them to breed in. Additionally, use a heating pad to keep the temperature in the bin around 90 degrees Fahrenheit, which is the ideal temperature for breeding. To ensure your roaches get enough nutrition, provide them with dried cat food or cereal. Then, let them breed on their own and expect to see between 25 to 30 babies every 6 to 8 weeks. For tips on how to clean your roaches' habitat, keep reading!
