This article was co-authored by wikiHow Staff. Our trained team of editors and researchers validate articles for accuracy and comprehensiveness. wikiHow's Content Management Team carefully monitors the work from our editorial staff to ensure that each article is backed by trusted research and meets our high quality standards.
This article has been viewed 88,323 times.
Learn more...
Baking - it's a process so fundamentally simple that the earliest bakers managed to bake with only hot rocks over 4,000 years ago. Yet, because it allows for truly vast culinary complexity, baking is still an area of experimentation for curious chefs today. If you've never baked before, this guide will explain the basic foundations of baking, offer tips for baking specific food groups, and suggest a few recipes to get you started baking. Don't worry - if the ancient Egyptians could do it, so can you!
Steps
Baking Basics
-
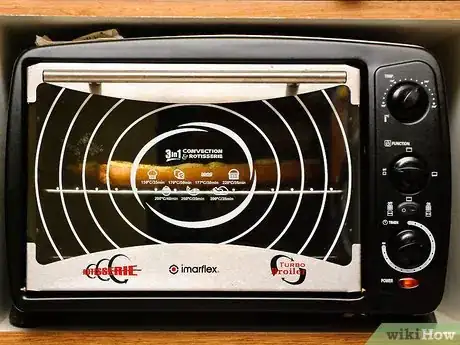
1Find a heat source. When a food is baked, it is heated from its outside to its center, resulting in a toasted, crusty exterior,or soft interior. To bake, you need a heat source that can heat your food sufficiently for it to cook all the way through (for meat dishes, this is especially important, as undercooked meat can contain disease-containing pathogens.) By far the most common appliance used in baking is the oven. Modern ovens allow you to set precise, controlled temperatures for cooking and offer easy access to your food without leaking heat into the surrounding environment. Though less common, it's possible to bake with a variety of alternative methods, including:
- Traditional outdoor ovens such as the Tandoor
- Dutch ovens
- Microwave ovens (technically, this is not baking - microwave radiation is used to warm the food. Still, "microwave baking" recipes exist for replicating traditional baked goods like brownies and cookies in a mug in the microwave.)
-
2Choose a sensible recipe. Baking projects can range from the simple (staple dishes like bread or chicken breasts) to massive undertakings (like the intricately-decorated desserts you might see on specialty cooking shows like Cake Boss. If you're a beginner baker, it's best to stick to something simple - a simple cookie recipe or some easy chicken thighs. Make sure you have all the ingredients in the recipe before beginning - rushing to the store while you're cooking is aggravating and can even tank certain time-sensitive recipes.
- If you can, measure your ingredients out before beginning. It's not essential, but it makes the baking process much quicker.
- Practice good food safety. Wash your hands before beginning any cooking project and after touching any uncooked ingredients which can harbor disease-causing bacteria (especially meat, poultry, and eggs.)
- Wear clothes you don't mind getting dirty or try wearing an apron.
Advertisement -
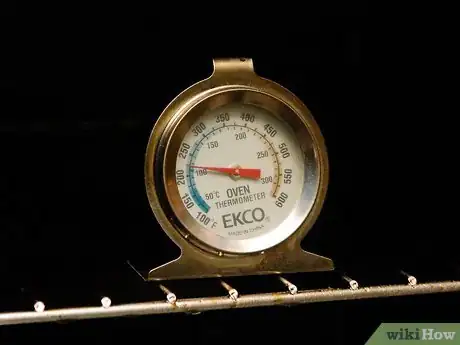
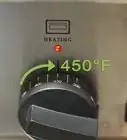
3Preheat your oven. By their nature, all baking recipes require high heats. Set your oven to the temperature called for in your recipe. Then, proceed to the next step! Leave your oven alone while it heats - ovens take time to reach the temperatures required for baking (So don't open it while its preheating because that could result in a longer preheat time). In the time your oven takes to heat up, you can complete the other steps in your recipe. By the time your recipe calls for you to put your food in the oven, it should be at the correct heat. The oven will mostly make a noise once the oven has preheated.
- It's tempting, but don't open the oven's door before you're ready to put your food in. Doing so will release heat trapped in the oven, lowering the temperature and increasing the time it will take to reach baking temperature.
-
4Follow your recipe. Every recipe is different - there's no set of rules that will guide you through every baking process perfectly. Most baking recipes, however, contain some or all of the following general steps:
- Preparing your food (for meat, poultry, and vegetables.) Food placed directly in the oven without any preparation will taste dry and bland at best and will cook improperly at worst. Meats like chicken breasts often need to be marinated, stuffed, and/or browned in a frying pan before baking. Vegetables like potatoes need to be pricked with a fork before baking to allow moisture to escape. Almost every recipe contains some sort of preparatory process for the food.
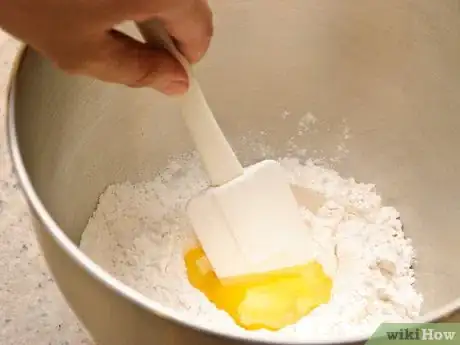
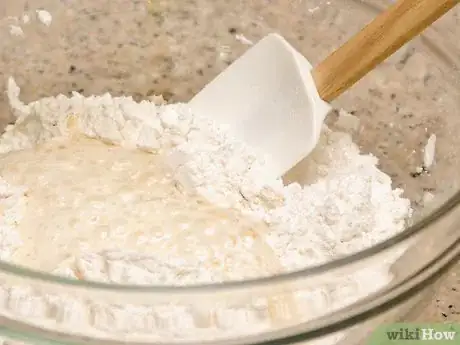
- Mixing your ingredients (for pastries, desserts, etc.) Often, the wet and dry ingredients are combined in separate bowls, then mixed together to form a dough or batter.
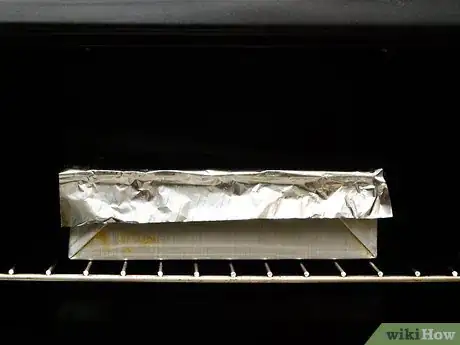
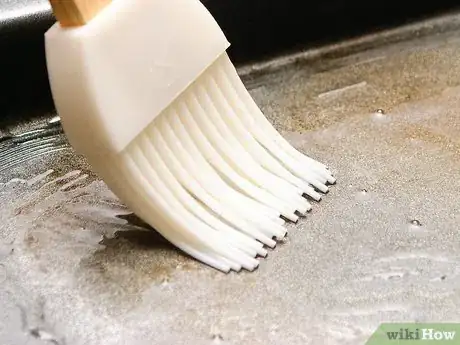
- Preparing baking utensils. Pots and pans aren't always immediately suitable for baking. Sometimes, they need special preparation before baking - many baking recipes, for instance, require you to grease your pan.
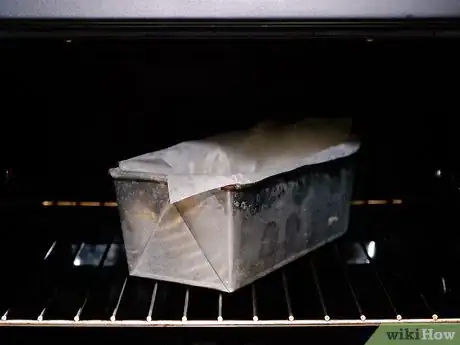
- Placing the food in or on a baking vessel. Your batter or prepared meat or vegetable won't cook properly if you set it at the bottom of the oven. Usually, your uncooked food is poured or placed into a heat-resistant metal, glass, or ceramic vessel which can easily be removed from the oven (with oven mitts.)
- Cooking in the oven at a high heat. This is what defines baking. All baking recipes need to be baked in an oven (or suitable alternative.) Pay attention to instructions about how far the food should be from the heat source.
-
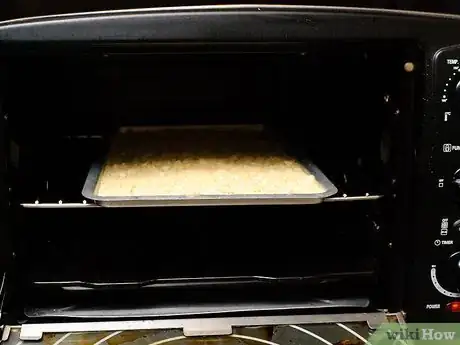
5Place your food in the oven. Once you have prepared your food using the recipe's instructions and made sure the oven is preheated, add the food (in its baking vessel) to the oven. Close the oven's door and set a timer for the amount of time your recipe specifies for baking. Now, wait for your food to cook and enjoy the delicious aromas that (hopefully) fill your kitchen.
- Take this opportunity to clean the utensils you used to prepare your food.
- It's OK to check on your food while it cooks by using an oven light or by opening the oven's door briefly. If you open the door, close it as quickly as possible so that the oven doesn't lose its heat. If you're worried that your dish may burn, check on it halfway through the baking process, then after the halfway point as needed.
-
6Remove your food from the oven. When your food's time is up and you've checked it to make sure it looks done, remove it from the oven. Make sure to use some form of hand protection - oven mitts are handy because they allow you to retain some of your hand's dexterity when holding your food, but bunched-up towels held carefully between your hands and the cooking vessel work in a pinch.
- Be careful! Pay attention to your food as you remove it from the oven, taking special care not to spill any hot liquids. Baking can be a fun, relaxing process, but if care isn't taken during this step, it can result in painful injury.
- Set your creation somewhere where it won't burn the surface it's sitting on or any nearby objects. Use a sturdy rag, an oven mitt, or a cooling rack to protect your counter tops.
-
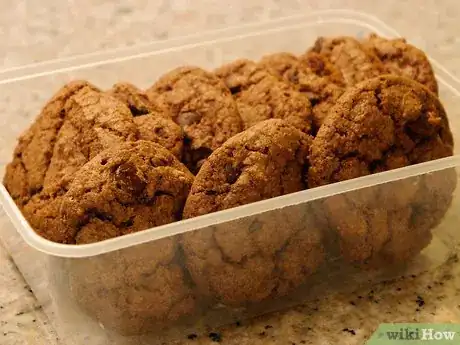
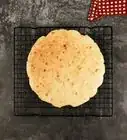
7Let your food cool. Food is usually far too hot to eat when it comes out of the oven. It also may not have its "final" texture - cookies are almost too soft to hold when they come out of the oven. Finally, some recipes use the heat of the pan to continue to cook the food after it is taken out of the oven. Allow your food to cool before eating it - if your recipe calls for it, carefully transfer your food to a cooling rack, which allows the cool air to reach every surface of your food.
-
8Garnish or decorate your food. For some foods, external decorations can be primarily used to improve the food's visual presentation, for others, decorations are a vital part of the food's flavor. For instance, a parsley garnish is hardly essential for a baked pasta dish, but a plain, dry cake without frosting is incredibly bland. Your recipe may have specific instructions for decoration or even contain a separate list of ingredients for the decorative elements of your recipe (as is often the case with frostings and sauces.) Give your dish some finishing touches, serve, and enjoy!
Baking by Food Groups
-
1Bake breads, pastries, and desserts. When most people think of "baked goods," they think of breads and pastries, like croissants, popovers, or strudel — the kinds of foods you can commonly buy at a bakery. These types of foods usually use common ingredients like flour, butter, eggs, sugar, baking soda, salt, oil, milk, starch, cheese, and/or yeast to form a dough or batter which is then baked in sections or as a whole. Breads and pastries are often flavored with spices, syrups, and other additives to give them unique savory flavors. Here are a few basic points to remember when baking breads and pastries:
- Your dish's final shape is usually dictated by the vessel it is baked in. A loaf of bread baked in a bread pan, for instance, will have a different shape than a ball of dough cooked on a flat pan.
- Baked goods usually require special care to ensure they don't stick to their pan. Butter, shortening, oil, or aerosol sprays are commonly used to keep cooking pans slick.
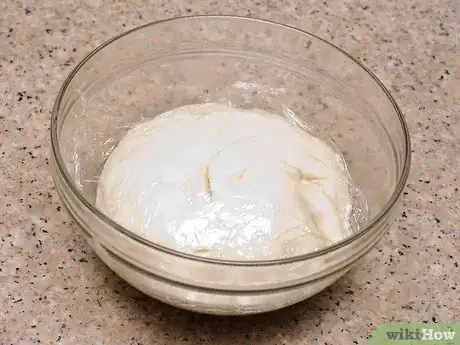
- Some baked goods which use yeast (especially breads) require extra time for the yeast to "rise." Yeast is a live, microscopic fungus[1] which eats sugar in the dough, releasing carbon dioxide gas (which causes dough to "rise") and other compounds which affect the flavor of baked goods.
- Generally, the higher the proportion of dry ingredients (flour, etc.) to wet ingredients (eggs, oil, milk, etc.) in a recipe, the crumblier the dough will be. One common trick for working with especially crumbly dough is to cool it in the freezer or refrigerator - it will thicken, becoming easier to handle and shape without crumbling.
-
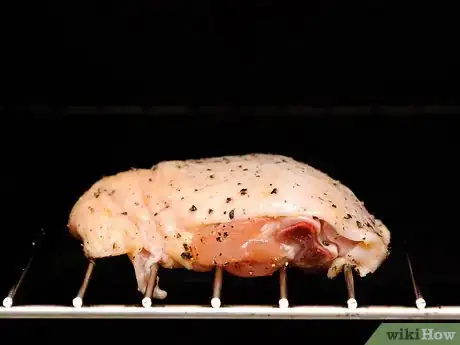
2Bake meat and poultry. Along with frying, roasting, and grilling, baking is a great cooking method for meat and poultry. The hot, dry air used in baking can give a cuts of poultry a crispy, browned exterior while keeping the interior of the meat moist and juicy. Roasting a large cut of beef or lamb at a low temperature for hours is a great way to ensure you get a moist, flavorful final product that's cooked all the way through Here are some things to remember when baking meat and poultry:
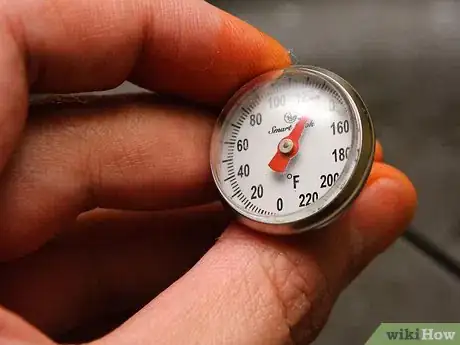
- When roasting large cuts of meat, have a meat thermometer handy, along with a list of the desired internal temperatures for different kinds of meat. It's much easier to use the thermometer to judge whether the meat's done than painstakingly removing it from the oven, cutting it all the way through, and placing it back in the oven.
- Some people prefer removing the skin from pieces of poultry, while others prefer leaving it on. When seasoned and cooked, the skin can have a delicious crispy texture, but can slightly increase the fat and caloric content of the dish.[2]
- There are pros and cons for leaving the bone in cuts of meat (as opposed to removing the bone.) Cuts of meat with the bone in are generally cheaper and, according to some sources, more flavorful (though this is not backed up by hard evidence[3] .) They also sometimes offer additional options for cooking (try stuffing garlic or other herbs into the section of ribcage attached to a bone-in chicken breast). On the other hand, eating around bones can be annoying.
- Always cook meat and poultry thoroughly. A 2011 study found dangerous Staph bacteria in about half of the meat and poultry samples tested.[4] Don't take any chances - make sure the center of the meat is cooked with no pink spots and that the meat's juices run clear. For bone-in meat, insert a fork to the bone, feeling for any resistance - a fork will smoothly and easily pierce a done piece of meat.
-
3Bake vegetables. Baked or roasted vegetable dishes are a nutritious addition to any meal. Some, like baked potatoes, stand up as delicious main courses. Compared to frying, baking is almost always a lower-calorie, higher-nutrition cooking option for vegetables. Brushed with a little oil and sprinkled with salt and pepper, vegetables can even be baked to give a crispy, satisfying crust. Here are just a few tips for baking vegetables:
- Generally, vegetables are "done" when they're tender. However, different vegetables tenderize at different speeds - whole squashes, for instance, can take over an hour to soften, while carrots can take half as long.[5] Look up cooking times for your vegetables before attempting to bake.
- Some vegetable dishes (notably baked potatoes) require you to puncture the vegetable with a fork or knife before cooking. As the vegetable cooks, water trapped inside will heat and turn to steam. If it can't escape through pre-made holes, the pressure buildup may cause your vegetable to explode!
-
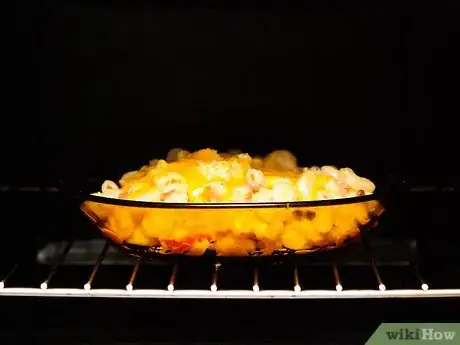
4Bake casserole dishes. Some baking recipes incorporate multiple types of food (some even cooked separately from the other ingredients) into a casserole-style dish. Often, these dishes use a carbohydrate, like rice, pasta, or a starch, as the central ingredient.The ingredients in these dishes are either layered or combined freely. Usually, the casserole is served directly from the deep-sided plate it was cooked in. Casserole dishes are filling, easy to serve, and often quite rich. Here are just a few examples of baked casserole-style dishes:
- Lasagna
- Ziti
- Potatoes au gratin
- Macaroni casserole
- Moussaka
Using Your Baking Skills
-
1Make Snickerdoodles. Snickerdoodles are a simple (yet elegant) sugar cookie that are mouthwatering paired with milk or ice cream or eaten on their own. Great for beginners, they're easy to bake and even easier to eat!
-
2Bake delectable sweet potatoes. Sweet potatoes are delicious, nutritious starches. They're rich in fiber, naturally great-tasting, and surprisingly versatile - sweet potatoes can be dressed with butter and some simple spices for a wholesome staple or loaded with beans, cheese, bacon, and other toppings for a decadent feast.
-
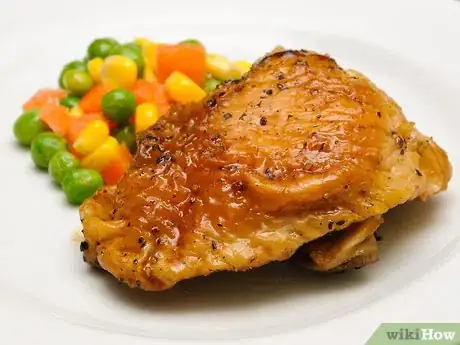
3Make crispy chicken thighs. Chicken thighs are an underrated cut of poultry - they're cheap, delicious, and lend themselves to finger-licking baked dishes. Marinate before baking for a rich flavor or rub the thighs with a dry rub or a glaze to give them a crispy, blackened texture.
-
4Bake a glazed ham. Whether it's for a family Easter dinner or just for own enjoyment, a baked ham with a sweet glaze makes for a great main course. Even better, you'll have leftovers to make delicious thick-sliced ham sandwiches for weeks.
-
5Bake a birthday cake. Cake recipes can be a little tricky, but if you pull one off, you'll instantly be a celebrity at the party. Birthday cakes have endless potential for decoration - with practice, you'll eventually be making masterpieces with fondant and frosting!
Community Q&A
Did you know you can get answers researched by wikiHow Staff?
Unlock staff-researched answers by supporting wikiHow
-
QuestionHow do I keep track of dry ingredients added when baking?
 wikiHow Staff EditorThis answer was written by one of our trained team of researchers who validated it for accuracy and comprehensiveness.
Staff Answer wikiHow Staff EditorStaff AnswerKeeping track of dry ingredients when baking can be made easier if you measure the amounts out before baking. For small ingredients, this can be done in little piles on a tray or baking sheet lined with parchment paper, for larger ingredients you can use bowls. If you're really forgetful, make laminated labels for placing in front of measured-out ingredients to remember easily when adding the ingredients in the right order. By doing this, you won't forget to add an ingredient to the mixing bowl.
 -
QuestionHow can I tell whether my baking powder is fresh?
 wikiHow Staff EditorThis answer was written by one of our trained team of researchers who validated it for accuracy and comprehensiveness.
Staff Answer wikiHow Staff EditorStaff AnswerCheck the date of manufacture first; if it's past the use-by date, then it's no longer fresh. To test the baking powder if you cannot find a date or suspect it's gone off anyway: Pop 2 teaspoons of the baking powder into a cup of hot water from the tap. If the powder foams up and bubbles or fizzes straight away, it's still good to use. If this reaction is slow to happen or doesn't happen at all, the baking powder is no longer viable and should be thrown out. After opening baking powder, label it with the date: it's good for 6 to 12 months after this date and then it should be thrown away.
 -
QuestionHow do I bake in a microwave?
 Community AnswerThere are recipes available online that are specifically meant to be made in the microwave; you can do an online search to find a list of these recipes. Unless a recipe specifies that it can be baked in the microwave, don't attempt to do so.
References
- ↑ http://www.ars.usda.gov/research/publications/publications.htm?SEQ_NO_115=176765
- ↑ http://www.cookinglight.com/eating-smart/nutrition-101/nutrition-myths-facts-00412000067116/page15.html
- ↑ http://www.seriouseats.com/2013/03/ask-the-food-lab-do-bones-add-flavor-to-meat-beef.html
- ↑ http://www.sciencedaily.com/releases/2011/04/110415083153.htm
- ↑ http://recipes.howstuffworks.com/tools-and-techniques/how-to-cook-vegetables24.htm
About This Article
To bake like a pro, first learn how to heat your oven to different temperatures and set its timer. Choose a simple recipe, like cookies or chicken thighs, and follow it exactly. Preheat your oven and prep your ingredients while you wait for it to warm up. If you’re baking something sweet, mix your wet and dry ingredients separately, then combine them; if you’re cooking meat or vegetables, season them before baking to ensure a great taste. Use oven mitts to set your baking dish in the oven, let it cook for as long as instructed, and enjoy. If you want to learn how to practice good food safety while baking, keep reading the article!
