This article was co-authored by wikiHow staff writer, Nicole Levine, MFA. Nicole Levine is a Technology Writer and Editor for wikiHow. She has more than 20 years of experience creating technical documentation and leading support teams at major web hosting and software companies. Nicole also holds an MFA in Creative Writing from Portland State University and teaches composition, fiction-writing, and zine-making at various institutions.
The wikiHow Tech Team also followed the article's instructions and verified that they work.
This article has been viewed 20,669 times.
Learn more...
This wikiHow teaches you how to set a Windows 10 application to always run as an Administrator. You must be logged in as an administrator to make this change.
Steps
Applications in the Windows (Start) Menu
-
1
-
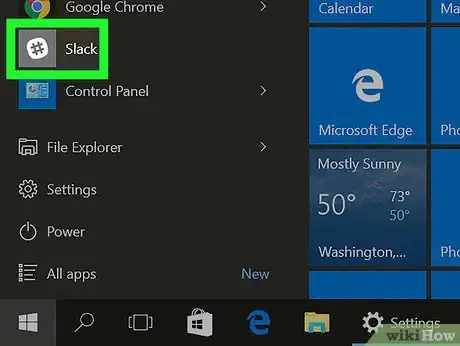
2Right-click the application you want to always run as administrator. You'll probably have to scroll down to find it.
- Depending on your settings, you may also have to click All Apps to see your options.
Advertisement -
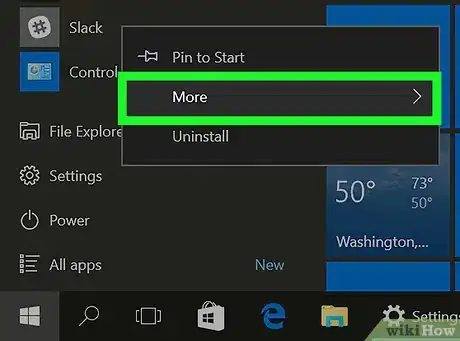
3Click More.
-
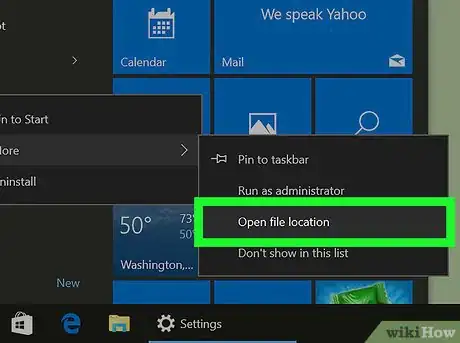
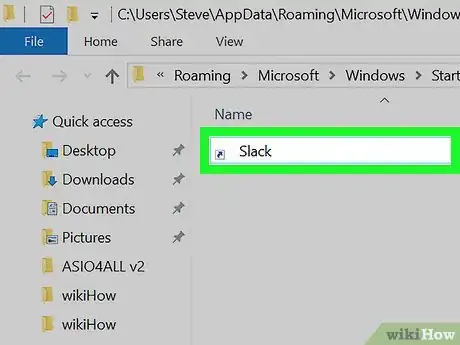
4Click Open file location. This opens a File Explorer folder containing the application.
-
5Right-click the application. If there are a lot of files in the folder, you may have to scroll down to find it.
-
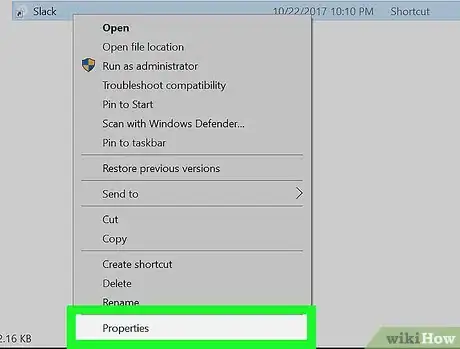
6Click Properties.
-
7Click the Compatibility tab.
-
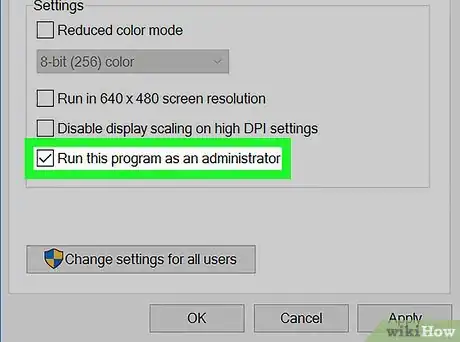
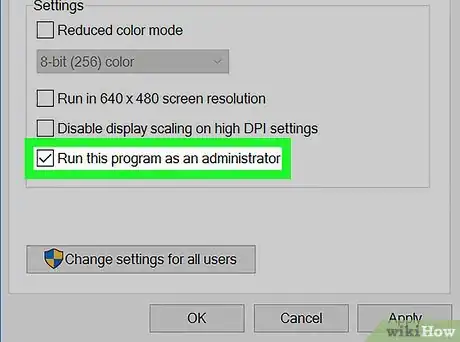
8Click the box next to “Run this program as an administrator.” It's at the bottom of the “Settings” options. A check mark should now appear in the box.
-
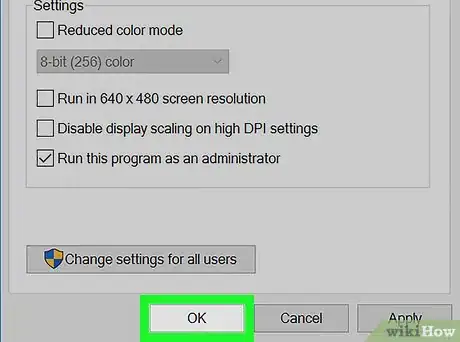
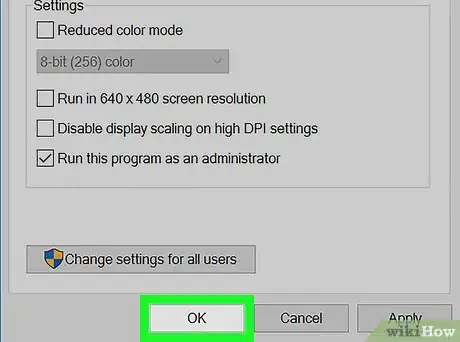
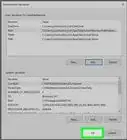
9Click OK. The selected application will now run as an administrator every time it is launched.
Applications on the Desktop
-
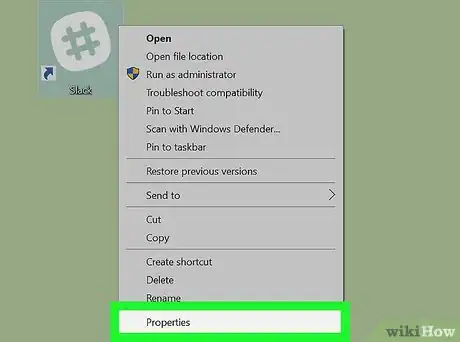
1Right-click the application's icon. A pop-up menu will appear.
-
2Click Properties.
-
3Click the Compatibility tab.
-
4Click the box next to “Run this program as an administrator.” It's at the bottom of the “Settings” options. A check mark should now appear in the box.
-
5Click OK. The selected application will now run as an administrator every time it is launched.


