This article was co-authored by wikiHow Staff. Our trained team of editors and researchers validate articles for accuracy and comprehensiveness. wikiHow's Content Management Team carefully monitors the work from our editorial staff to ensure that each article is backed by trusted research and meets our high quality standards.
There are 7 references cited in this article, which can be found at the bottom of the page.
wikiHow marks an article as reader-approved once it receives enough positive feedback. In this case, 86% of readers who voted found the article helpful, earning it our reader-approved status.
This article has been viewed 202,610 times.
Learn more...
Archery is a unique activity that has been practiced as both a sport and skill of hunting and warfare for thousands of years. Advances in technology in recent years have led to the design and creation of bows that can shoot great distances with astounding accuracy. Because of the incredible balance, technique and precision that goes into shooting a bow, it is essential that the bow itself be tuned to meet the specific attributes of the archer wielding it. Adjusting the firing mechanisms of a modern compound bow is as simple as a few turns of a wrench and getting a feel for the exact weight you need.
Things You Should Know
- Change the draw weight by loosening your bow’s limb locking screws and tightening or loosening the limb bolts to your desired weight.
- Adjust to a draw weight that is comfortable, matching both your upper body strength and your draw length.
- Draw and hold the bow for several seconds to get an idea of how it needs to be adjusted; you can also use average draw weights for reference.
Steps
Changing the Draw Weight
-
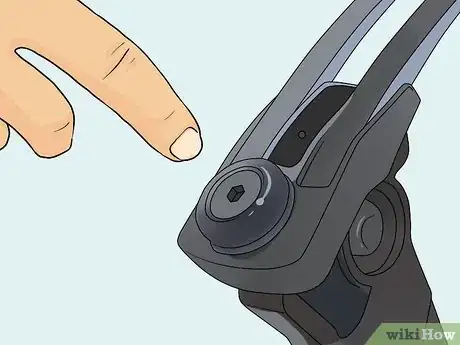
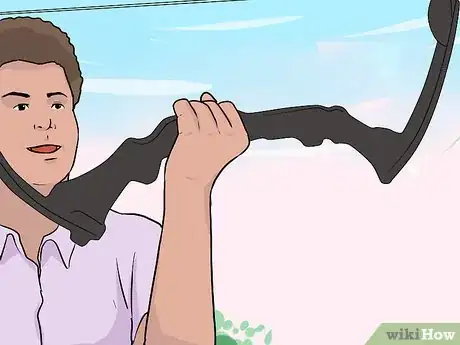
1Locate the limb bolts. Look for the limb bolts near the center of your compound bow. The limb bolts lie in large circular knobs that attach the bow’s arms to the riser. These bolts must be manipulated to tweak the draw weight, or the amount of tension that is placed on the bow string as it is pulled.[1]
- The riser is the central part of the bow that connects to the limbs and other mechanical components.
-
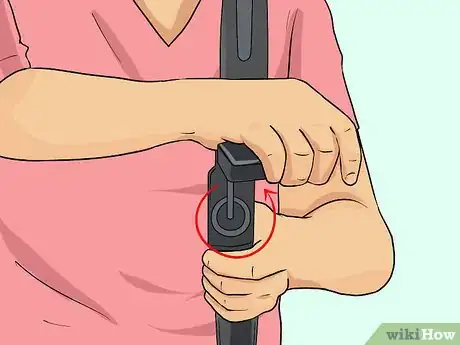
2Loosen the limb locking screws. Certain compound bow models use a second set of bolts or screws to hold the limb bolts in place once they’re in the right position. These can usually be found on either side of the limb bolts. They can sometimes be undone with the same Allen wrench you’ll use to adjust the limb bolts, or they may require a separate screwdriver. Loosen the locking screws to allow the limb bolts to be adjusted.Advertisement
-
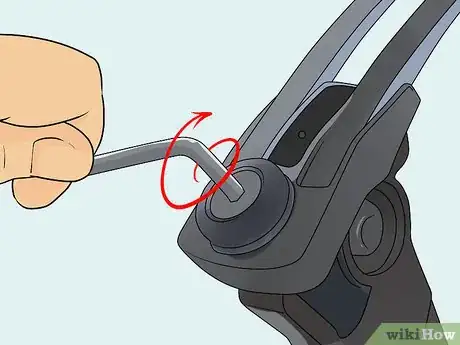
3Tighten or loosen the limb bolts to the desired weight. Insert the short arm of an Allen wrench (most commonly a 3/16 size, usually included with the bow) into the bolt and make sure it is properly slotted. Then, turn the wrench either clockwise to tighten the bolt or counterclockwise to loosen it. Adjust the tension of each arm of the bow to the preferred weight. Do this for both limb bolts, turning each bolt the same amount.[2]
- Tighten or loosen the limb bolts one full rotation at a time. This will help you keep track of the level of tension in each of the limbs.[3]
- On most compound bows, one rotation of the limb bolt translates to roughly a pound and a half of weight.
- Remember to adjust the tension equally on both limbs.
-
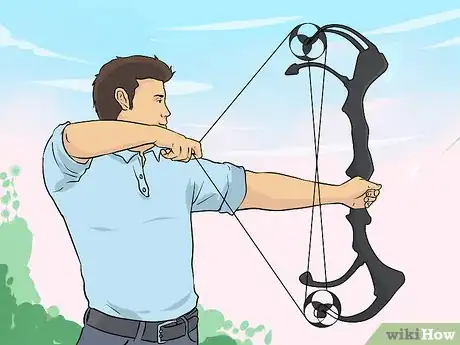
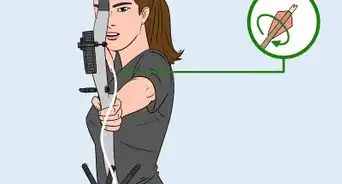
4Test the bow’s pull. Secure the limb locking screws if your bow has them. Hold the bow as you ordinarily would and pull back the bowstring to test the draw weight. If you’re satisfied with how it feels, you’re done. If not, continue tinkering with the draw weight until you get it how you want it.[4]
- You should be able to draw the bow in one smooth, controlled motion.
Finding the Right Draw Weight
-
1Settle on a draw weight that matches your upper body strength. The draw weight of the bow should be determined by your level of upper body strength. If the draw feels too heavy, or it becomes difficult to continue drawing the bow after multiple shots, the tension may be too high. An excessively heavy draw weight can wear you out and throw off your shot.[5]
- Light draw weights are more manageable, but sacrifice force and velocity when propelling the arrow.[6]
- A heavier draw weight doesn’t always equal a better shot. The force and trajectory can depend just as much on the type of arrow you’re using.
-
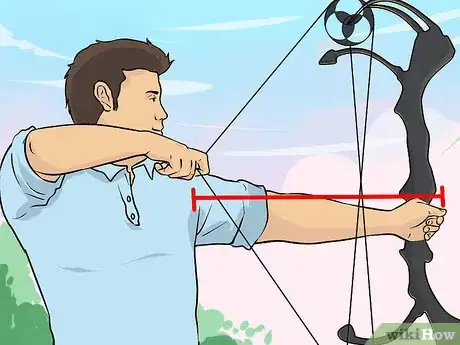
2Take your draw length into account. Draw length refers to the distance it takes to pull the bowstring all the way back. The longer the draw length, the more tension that is placed on the bow and the heavier the weight of the bowstring. Make sure your bow is properly calibrated to suit your body type and measurements. If need be, take the bow to a specialist to have it modified.
- The draw length of the bow should correspond directly to your arm span.
- Altering the bow’s draw length is more complicated, and may have to be done by a professional.
-
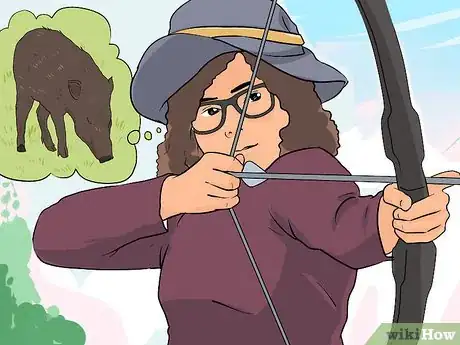
3Consider how you’ll be using the bow. Are you taking your bow hunting, using it for a sport competition or just practicing recreationally? Hunters may favor a heavier pull to ensure that their arrows have penetrating power. Competition archers, on the other hand, should aim to use a weight that lets them shoot over and over again without causing fatigue.[7]
- Competition archers shoot more frequently and might get tired using a heavier draw weight.
- Bows with different specifications and mechanical advantages are made for different kinds of sportsmen.
-
4Choose a weight that’s comfortable. Above all, the draw weight you decide on should feel natural in your hands. Don’t let your ego tempt you into using too heavy a bow or specifications that don’t fit your individual style. Adjust your bow until it is balanced enough to draw, hold and release without difficulty.[8]
- Always go with what feels best. It may take a little time to figure out, but in the end your bow will be better calibrated to your unique proportions, and you’ll be more accurate as a result.
Adjusting the Bow to Suit Your Needs
-
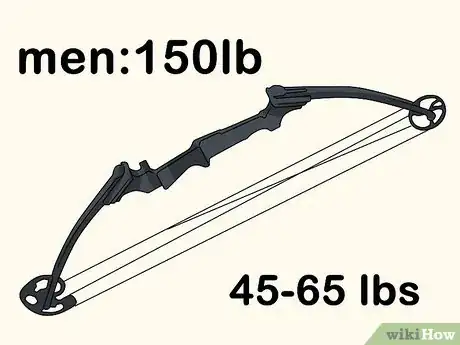
1Use an average draw weight for reference. If you’re just getting started and aren’t sure what draw weight would be best for you, take a look at some average draw weights as they’re categorized by age and sex. Children generally start with a weight of around 20-30lbs; women weighing less than 170lbs and older boys fall around 30-40lbs; women weighing over about 170lbs, older boys, and men weighing 150lbs or less might use a weight anywhere between 45-65 lbs; men between 150-200lbs use an average of 60-70lbs; men over 200lbs might use up to a 100 pound draw weight.[9]
- Try out different bow sizes and draw weights to see which you handle best.
- These are just average figures, and don’t reflect the abilities of an individual archer.
-
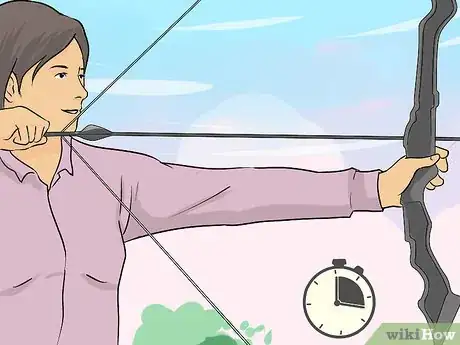
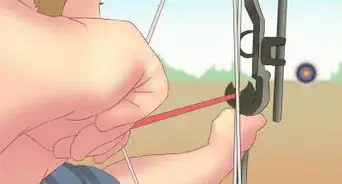
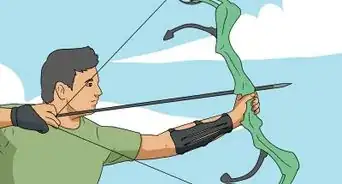
2Draw and hold the bow for several seconds. Draw back the bowstring just short of full extension and hold it for about ten seconds. If you begin straining or fail to keep the bow drawn, decrease the tension a little by loosening the limb bolts one rotation at a time. You should be able to hold the bowstring taut in the position just before the wall for a few moments without a struggle.[10]
- The point at which the bowstring can’t be pulled back any further is known as the “wall.” The wall of a draw is calculated to help you find the perfect amount of tension to take a shot.[11]
- Drawing and holding is a practical exercise, as you’ll be holding the draw to aim when shooting for real.
-
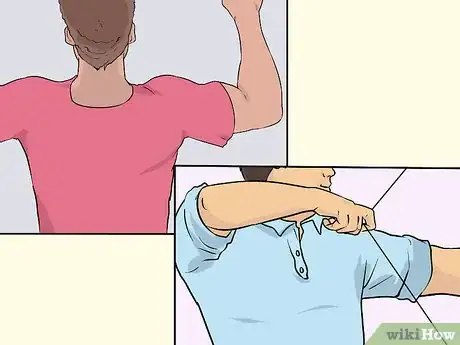
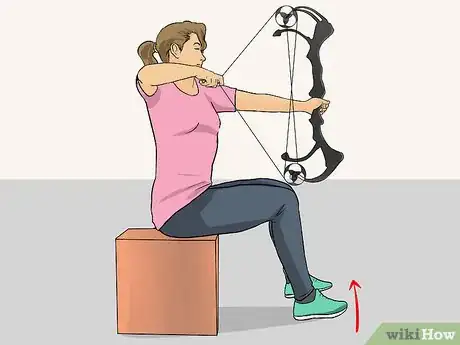
3Draw the bow with your feet off the ground. Some archers use this method to test how comfortable they are with their bow’s draw weight. Sit in a chair and raise the bow in front of you as if you were sighting a target. Now, pick your feet up off the ground and hold them up as you pull back the bowstring. Observe how easy or difficult this feels. Keeping your feet off the floor reduces your stability and shows you more clearly how much you’re relying on the muscles of your shoulders and back to draw.[12]
- This test slightly overestimates the role of the upper body in drawing, holding and shooting, giving you more control when your feet are on the ground.
-
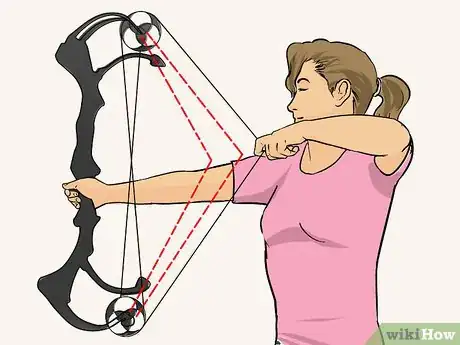
4Identify where the draw feels heaviest. As you pull back the bowstring, make a note of at what point you encounter the most resistance. The bow will normally have the highest amount of tension right before you reach the wall. If it starts getting hard in the middle of the draw or sooner, the limb bolts may need to be loosed just slightly. Similarly, if the draw feels too fast or easy, tightening the limb bolts will result in a more forceful release.
- Your draw should be one fluid movement, and the bowstring should not slow down at any point during the pull.
Warnings
- Be careful not to tighten the limb bolts too much. Doing this could cause the cams (the part of the bow that connects the limbs to the bowstring) or bowstring to break.⧼thumbs_response⧽
- Consult your bow's manual to find out how many times the limb bolts can be safely turned in either direction. If they are tightened or loosened beyond the bow's capacity, it may damage it.⧼thumbs_response⧽
- Be sure to secure the locking screws once you’re finished. Failure to do this can cause the limb bolts to disengage and the bow to come apart, which can be very dangerous for the person holding it and anyone else nearby.⧼thumbs_response⧽
References
- ↑ https://shootingtime.com/archery/parts-of-a-compound-bow/
- ↑ https://shootingtime.com/archery/adjust-draw-weight/
- ↑ https://www.youtube.com/watch?v=t-LBILghvz8
- ↑ http://hunthacks.com/set-draw-weight-compound-bow/
- ↑ http://www.learn-archery.com/proper-draw-weight.html
- ↑ http://www.huntersfriend.com/archery-help/target-and-hunting-bow-sizing-adjustment-guide.html
- ↑ http://pickabow.com/compound-bow-buying-guide/
- ↑ http://www.huntersfriend.com/archery-help/target-and-hunting-bow-sizing-adjustment-guide.html
- ↑ https://shootingtime.com/archery/adjust-draw-weight/
About This Article
If adjusted properly, your compound bow will give you greater accuracy and comfort when taking your shot. You can easily change the draw weight of your bow by loosening or tightening the limb bolts with an Allen wrench. On most bows, you’ll find these near the centre where the arms attach to the riser. You’ll want a draw weight that you can pull and hold for a few seconds without too much strain. On the other hand, having a bow that’s too easy to draw will sacrifice velocity and precision. You should be able to pull the string back with one fluid movement. For more tips, including how to adjust your bow’s draw weight for hunting, read on!
