X
wikiHow is a “wiki,” similar to Wikipedia, which means that many of our articles are co-written by multiple authors. To create this article, 9 people, some anonymous, worked to edit and improve it over time.
This article has been viewed 50,840 times.
Learn more...
In order to make a proper golf swing, the golfer must have the correct grip on the club. The grip is the foundation, or what is called, the mission statement of the golf swing. This article will teach you the appropriate steps to achieve the correct grip for a right-handed golfer.
Steps
-
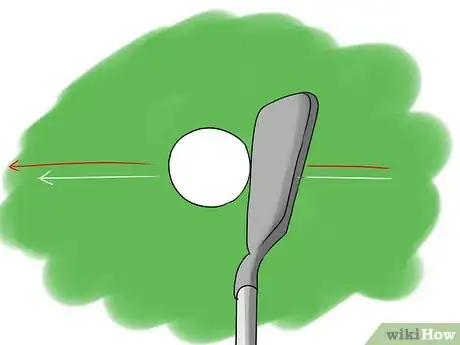
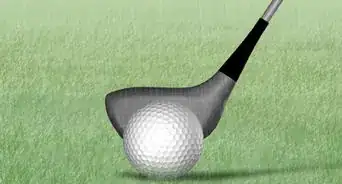
1Make sure the clubface is square to the target. Before you do anything with your hands, make sure that the clubface is square to the target. When you put your hands on first and then move the club face to a square position, you are actually ruining your correct grip and you will have to compensate in your golf swing. A golf swing happens extremely fast, (about 2.5 seconds) so we want to make sure that we have everything correct before we actually start the swing.[1]
-
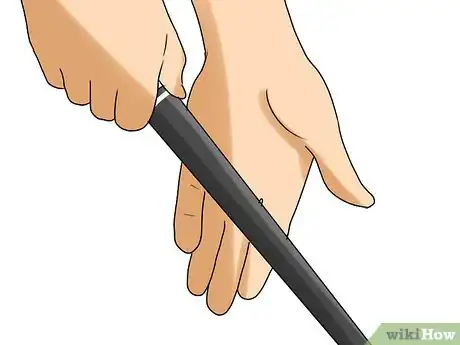
2Do the left hand grip. After you have the clubface square to the target, begin to put your left hand on the club. In order to have the correct left hand grip, have the grip of the club in the root of our fingers, where the fingers meet the palm. The incorrect left hand grip will usually lie too much in the middle of our fingers in the left hand. The reason you'll want the club in the root of the fingers is because the palm creates more of a flat wrist action. The fingers will create a cupped left wrist and that will produce an inconsistent strike on the golf ball.[2]Advertisement
-
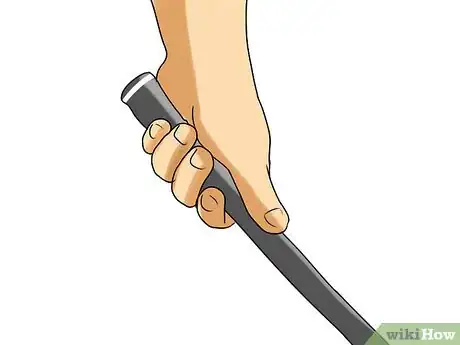
3Do the left thumb and hand sewn together. The great Jack Nicklaus once said that he wished God had sewn his thumbs to his hand. Once we have the grip in our left hand more towards the root of our fingers, we want to make sure that there is no gap between our thumb and our hand. It should feel as if you were trying to get change out of your pant pocket. Once there is no gap between the thumb and the hand, position your thumb at about 12:30 on top of the grip. As you see in these images, pretend that the, “Golf Pride” on my grip is 12 o’clock.
-
4Do the short left thumb. Now that we have the sensation of the left thumb and hand sewn together, we now want to make sure that we have a short left thumb opposed to a long left thumb. A short left thumb will allow you to use the bones in your left arm at the top of the golf swing. A long left thumb will be less stable throughout the swing.
-
5Check your knuckles and the "V". To make sure our left hand is on properly, you should be able to see your index and middle finger knuckles from your point of view. If you see 3 knuckles, then you have gripped the club to strong. If you only see one knuckle, then you have gripped the club too weak. Another checking point to make sure your grip is correct, is the thumb and the hand will create a "V" shape. That "V" should be pointing at your right shoulder. If it is pointing at your chin, then your grip is again too weak. Weak grips produce weak shots.[3]
-
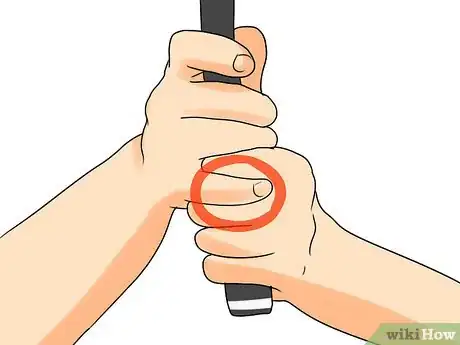
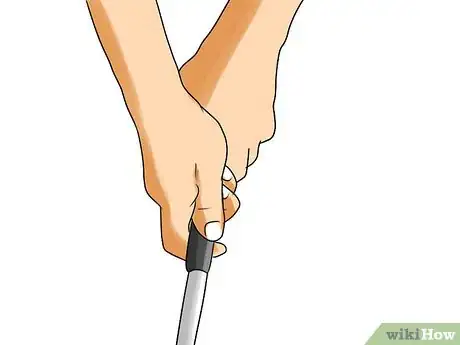
6How the hands connect. There are three ways to connect your left and right hand. The first way is to have your right pinky overlap your left index finger. The second way, would be to have your right pinky and left index finger interlock with one another. The third way, would be to have all 10 fingers on the club, much like a baseball grip. Try doing either the overlap or the interlock. If you have small hands, go with more of an interlock. If your hands are medium to big, go with the overlap grip.[4]
-
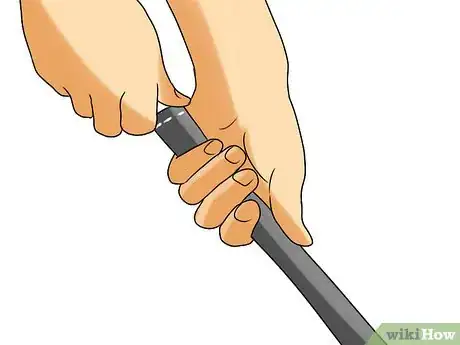
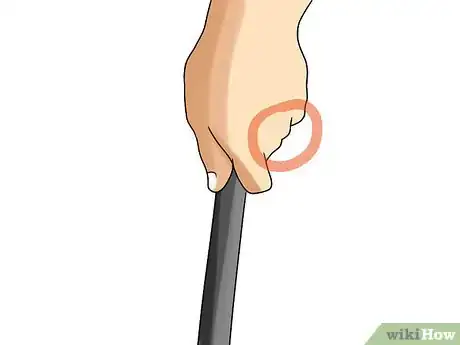
7Do the hand grip. The right hand is below the left hand on the grip. Opposite of the left hand, we want the grip to lay more in the tips of our fingers in the right hand. God drew lines on our hands for a reason so lets use them in this step. Lay the handle of the club on the last line of your fingertips. You then want to squeeze the club ever so slightly with those fingertips until the meat of your palm touches the club, (shown in the first picture).
-
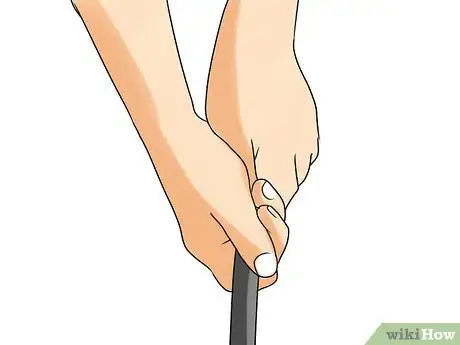
8Suck the right thumb back. Once we have the fingers and the meat of the palm touching the grip of the club, we then must suck the right thumb back like a vacuum and fold it over the left thumb.
-
9Check the right hand "V". Just like the left hand checkpoint, we want to make sure that the "V" in the right hand also points to the right shoulder. If the "V" points to the correct position, the handle of the club will sit in between the thumb and the right index finger like a saddle at the top of the backswing.[5]
-
10You are now in perfect position to start your takeaway.
Advertisement
References
- ↑ https://golfinsideruk.com/how-to-hold-golf-club-proper-golf-grip/
- ↑ https://golfinsideruk.com/how-to-hold-golf-club-proper-golf-grip/
- ↑ https://www.golf.com/instruction/2019/04/25/how-to-hold-a-golf-club-the-proper-golf-grip/
- ↑ https://www.golf.com/instruction/2019/04/25/how-to-hold-a-golf-club-the-proper-golf-grip/
- ↑ https://golftips.golfweek.com/correct-way-grip-golf-club-1528.html
About This Article
Advertisement
