X
This article was co-authored by wikiHow staff writer, Nicole Levine, MFA. Nicole Levine is a Technology Writer and Editor for wikiHow. She has more than 20 years of experience creating technical documentation and leading support teams at major web hosting and software companies. Nicole also holds an MFA in Creative Writing from Portland State University and teaches composition, fiction-writing, and zine-making at various institutions.
The wikiHow Tech Team also followed the article's instructions and verified that they work.
This article has been viewed 22,989 times.
Learn more...
This wikiHow teaches you how to access a shared network folder on your Windows or macOS network.
Steps
Method 1
Method 1 of 2:
Windows
-
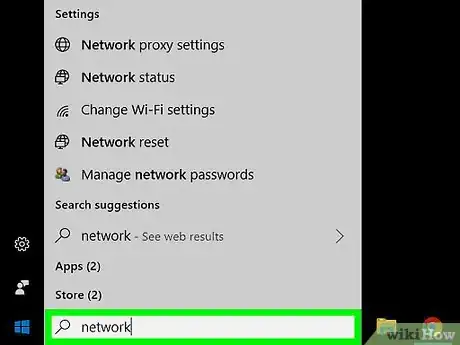
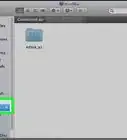
1Double-click the Network icon. It’s usually on the desktop. If you don’t see it, double-click This PC, then click Network on the left side of the window.
-
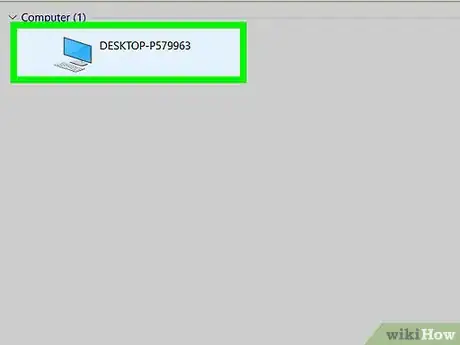
2Double-click the computer with the folder you want to access. You may have to wait a few moments for the computer to appear.Advertisement
-
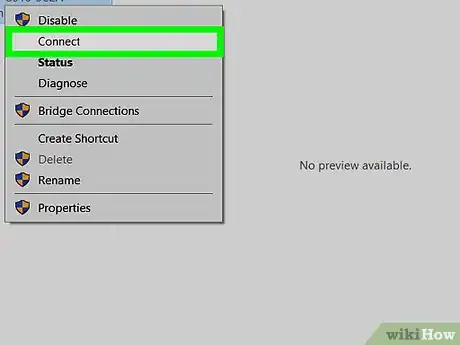
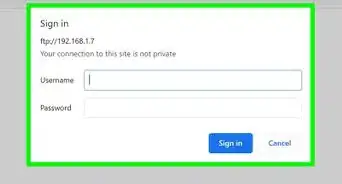
3Sign in to the computer. If prompted to sign in, enter your username and password, then click Connect. A list of shared folders will appear.
-
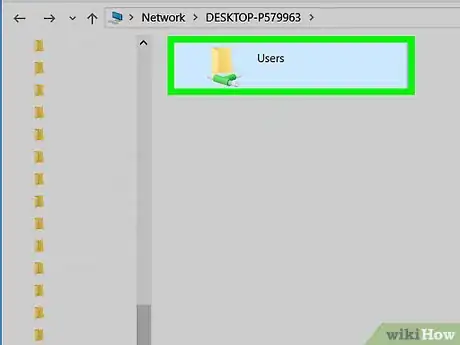
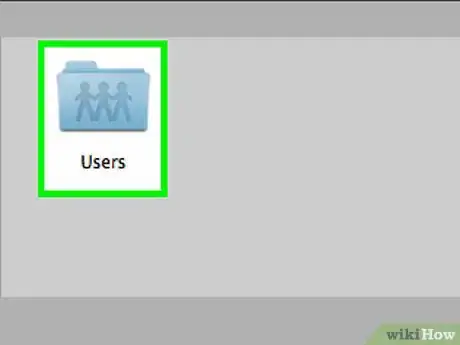
4Double-click the shared folder. The shared contents of that folder will now be accessible.
Advertisement
Method 2
Method 2 of 2:
macOS
-
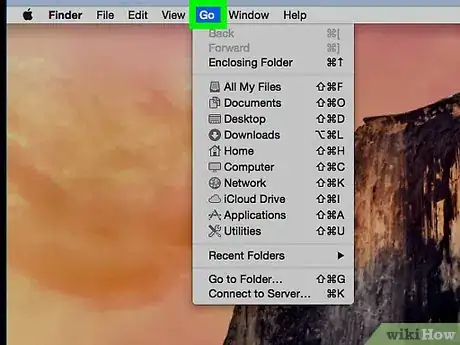
1Click the Go menu. It’s at the top of the screen.
-
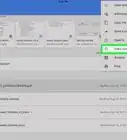
2Click Connect to Server…. It’s at the bottom of the menu.
-
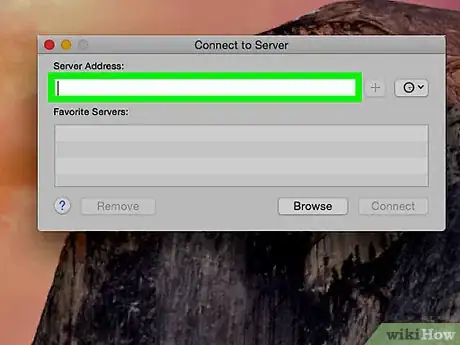
3Enter the address of the server that hosts the folder. This may be an IP address or host name, depending on your network.
- If you see the server listed under “Favorite Servers,” click it once to select it.
-
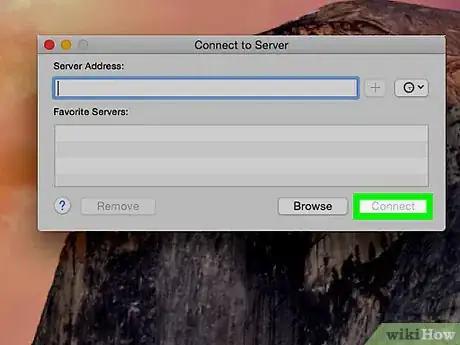
4Click Connect.
-
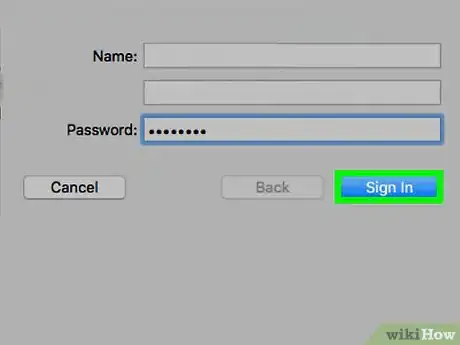
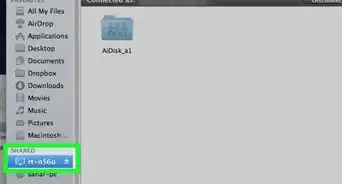
5Sign in to the server. If prompted to sign in, enter your username and password, then click Connect. A list of shared folders will appear.
-
6Double-click the shared folder. The shared contents of that folder will now be accessible.
Advertisement
About This Article
Advertisement
