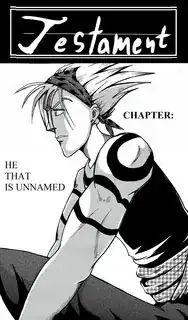
Interesting question... I searched it up on different websites. This how I found out!
Choosing the theme
Before anything is done the theme or story is chosen. An idea is needed - What is the genre? What should the Manga tell the reader? etc.
All these things have to be done at first before the drawing is starting. If an existing anime is converted into a manga it will be easier - because this information is already there.
The Plot
If the general idea of the manga is decided on, it is time to think about the plot. At this step it is important to ensure that the manga does not run outside of the theme and the dimension is observed.
The main events and the story flow is created. The plot is written in a simple form like:
- Little Red Riding Hood is visiting her grandmother who's living in another village
- She's courted by a wolf along the way
- The wolf ran and reached the grandma's house before Little Red Riding Hood
- The wolf ate the old lady, he put on her dress and lying on the bed, waiting for Little Red Riding Hood's arrival
- Little Red Riding Hood arrived and was being tricked by the wolf
- Wolf is ready to eat Little Red Riding Hood, a woodcutter passed by and rushed in for rescue
- The end
This is a very simple plot. A plot for a professional manga is a bit longer and contains much more information. But this is not everything - You would also write down some notes about where these events are happening. Also little side notes are made to remember everything.
Mostly mangakas also write a number at the left side of the plot and mark the page where this part is drawn.
Character Design
Yahoo~ This is the fun part! The story is finished and now we can concentrate on the character design.
Now you make some examples of your characters. Not only what they looks like - it is very important to write down the characteristics of you character also. Age, size, maybe favourite colour - everything is important information.
The clothing is also significant. One design is chosen, based on the character, and this design has to go through the whole manga.
(Although sometimes the characteristics and clothing of a character could change in the course of the story)
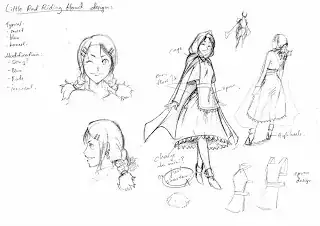
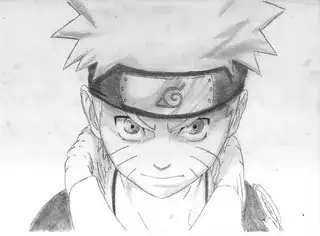
For this part you only use pencil and a eraser (and your head). Some like mechanical pencils and some like traditional pencils, it depends on the mangaka.
Storyboard
After that, you can start with the pages. What will they look like? At the beginning you just draw a rough sketch on a paper to get a idea of how it will look.
Then, you draw everything on the actual paper. First you draw the panels, mostly with a ruler. Then the panels get filled with the characters, speech bubbles and a background (place).
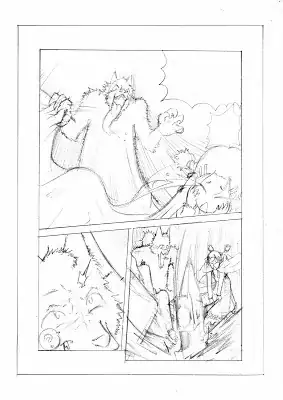
At this moment it is not important to draw clean or anything. The clean drawing is made later. The borderline is important also called the bleed (the small frame at the outside of the paper). It is need for the print you should not draw on it. It is also a little bit of a margin so the page looks better.
The sketch is also made with pencil and eraser. Sometimes also special rulers like a French curve are used.
Inking
This is a hard and sometimes irritating process. If you make a mistake you have to redraw the the page again from the sketch on.
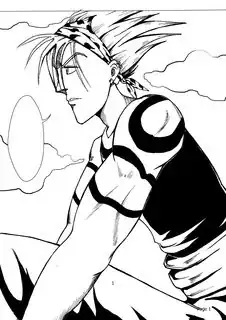
At this part the sketch gets "redrawn" but with a clean line and with - mostly black - ink. The artist is drawing over the pencil line and at the end he erease the sketch. Also a little bit of shading is done.
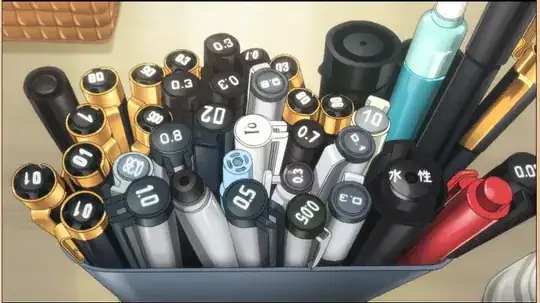
The so called G-Pen is a sign spring. With it you are able to control the size of the line by pressing it harder or softer down on the paper. This is one of the most used sign spring for mangakas.
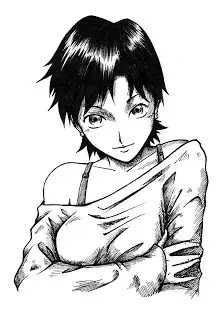
If you have a coloured manga you only draw the outline without the shadows and dark hair. Later you paint it with alcohol markers. One of the most well known markers are copic markers.
Here a little picture from a image that is drawn with such markers (Letraset markers).
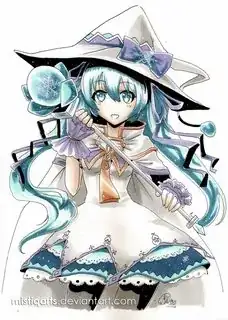
from deviantart drawn by Mistiqarts
A thing that for both is used is white out. It is used for highlights. This could be in a pen or in a bottle and you draw with a brush.
Computer Editing
After the page is inked it gets scanned and edited on a pc. The artist cleans it up with a Photo-editing program. This is mostly made with a tablet. Wacom is a good brand for such tablets.
When the page is clean, patterns are added. These patterns are added for shadows and explosions. The pattern could be crossed lines or dots or whatever.
The software that is used depends on what the mangaka like. There are many different ones. I would guess that Photoshop is one of the most used.
Keep in mind that today some mangas are only drawn on computers without the inking stage. But the pencil sketching is mostly still done.
If you only draw on a pc there is other software used like Manga Studio. With that you are able to design the whole page including the layout and panels. It also has awesome functions to be able to draw in a perspective.
This was the first page.
Print
After you have finished all pages. The whole manga gets printed and published. I will stop here because the way of creating a manga is ending here.
Pictures and most information from mangakasjournal blog. More information from the Manga Workshop and HubPages.
